From setup to teaching and community engagement, discover our secrets and tips for leading a yoga class that will leave everyone speechless.
Hosting a yoga class, whether you're a new instructor or looking to redifine your routine, requires more than just knowing your asanas: It requires care, awareness, and a deep respect for your students' physical and mental well-being. While mastering yoga techniques is essential, it's only part of the equation. What truly makes a class impactful is a combination of dedication, organization, and even a touch of creativity.
From preparation to feedback, every step plays a key role. Here’s your step-by-step guide to hosting a yoga class that leaves students feeling balanced and inspired.
Before the Class: the right set-up
1. Pick the Right Space
Start by choosing a location, a place that supports your teaching and helps students feel safe, present, and open to the experience.
The space you teach in has a powerful impact on the energy of the class: whether is a quiet studio offers structure and comfort, a serene park to connect with nature, or a cozy corner of your home to welcome them in your own cozy sanctuary just make sure it’s clean, spacious and that reflect your identity.
Ensure that your space is the right size for safe movement and relaxation. Especially check:
- Floor: ideally non-slip and firm enough for balance
- Temperature: aim for a dry, well-ventilated area that feels fresh. Your students should feel cool enough to move without overheating, yet not so cold that it disrupts their focus or flexibility.
- Lighting: soft, natural light often works best, but warm lamps or candles can create a calming ambiance indoors.
- Acoustics: As you’ll be speaking throughout the class, make sure your voice doesn’t echo or get lost in the space. If you're teaching outdoors, be aware of potential noise from traffic and ensure you’re able to play music clearly, without becoming a distraction.
2. Handle the Admin and Safety Details
As an instructor, it's your responsibility to create a safe and professional environment, both physically and legally.
- Collect liability waivers (digital or printed): these documents protect you and inform students of any risks associated with physical activity. It's also a good idea to briefly explain what the waiver covers, especially for first-time attendees.
- Have a first-aid kit nearby: Even though yoga is generally low-impact, minor injuries like sprains or slips can happen, especially in group settings or unfamiliar spaces. Always keep a kit within easy reach.
- Secure insurance if required: Consider getting an instructor insurance to cover personal liability, accidents, and property damage.
Remember: Follow any local health guidelines, especially a the post-pandemic world. Depending on where you live, there might be specific guidelines regarding the safety, health and legal compliance of your class that you should respect.
3. Gather the Essentials
Even a minimalist yoga class needs the basics. Provide or request that students bring these tools to stay focused and supported throughout their practice:
- Yoga mats: the basics for a yoga class. Non-slip and good quality mattresses make all the differences when it comes to balance and confidence.
- Props: Tools like blocks, straps, bolsters when possible are useful adds-on that can bring your class to the next level for students that wants to deepen their poses or give help to the ones working with injuries.
- Water bottles and towels: Remind your students to stay hydrated, especially during the warmer months.
Bonus: if you want to implement music in your workouts, curate a playlist that suits your flow and energy. Opt for gentle and instrumental tracks to create a calm atmosphere for during slower flows and more rhythmic beats for energizing moments or a power class.
4. Get the Word Out
Promotion is an essential part for hosting a yoga class: you might have the perfect sequence planned and a serene space ready, but if no one knows about your class, it won’t reach the students who need it.
If you already have a solid community, use email newsletters, to inform them about the right time and location, even providing a link to confirm their attendance or a dynamic calendar to sign up.
To attract a broader audience, leverage social media like Instagram, or local community boards to promote your class. To learn more about social media management for fitness studios, consult our blog here.
As the class date approaches, don't forget to send a friendly reminder and re-share practical details so students feel prepared and welcomed.
To help you in these tasks, you can easily trust a digital partner like bsport that will provide you all the tools to communicate and organise your class: send newsletter, push notifications or personalised message and add a calendar widget on your website or social media to boost bookings by +50%.

During the Class: Create a Meaningful Experience
5. Arrive Early and Set Up
We recommend to arrive at the location of the class at least 20–30 minutes early to set the tone. Get this as an opportunity to make sure everything is going smoothly and ground yourself, settle the space, and create a welcoming atmosphere for your students.Especially:
- Arrange mats and props: ensure the space feels organized, spacious, and inviting and place yourself in a clearly visible place. Adjust also candles, incense and essential oils, if needed.
- Test your audio or music: Do a quick sound check to ensure your voice carries clearly without being too loud, and that your playlist complements the mood without distracting from your cues.
- Greet students warmly: a simple hello, eye contact, or remembering someone’s name can go a long way in making people feel seen and valued.
- Encourage students to share injuries or needs beforehand: If you carrying out a mixed-level class, it will be crucial to tailor your practices and focus on the ones with special needs. Moreover, will make your members feels seen and helped.
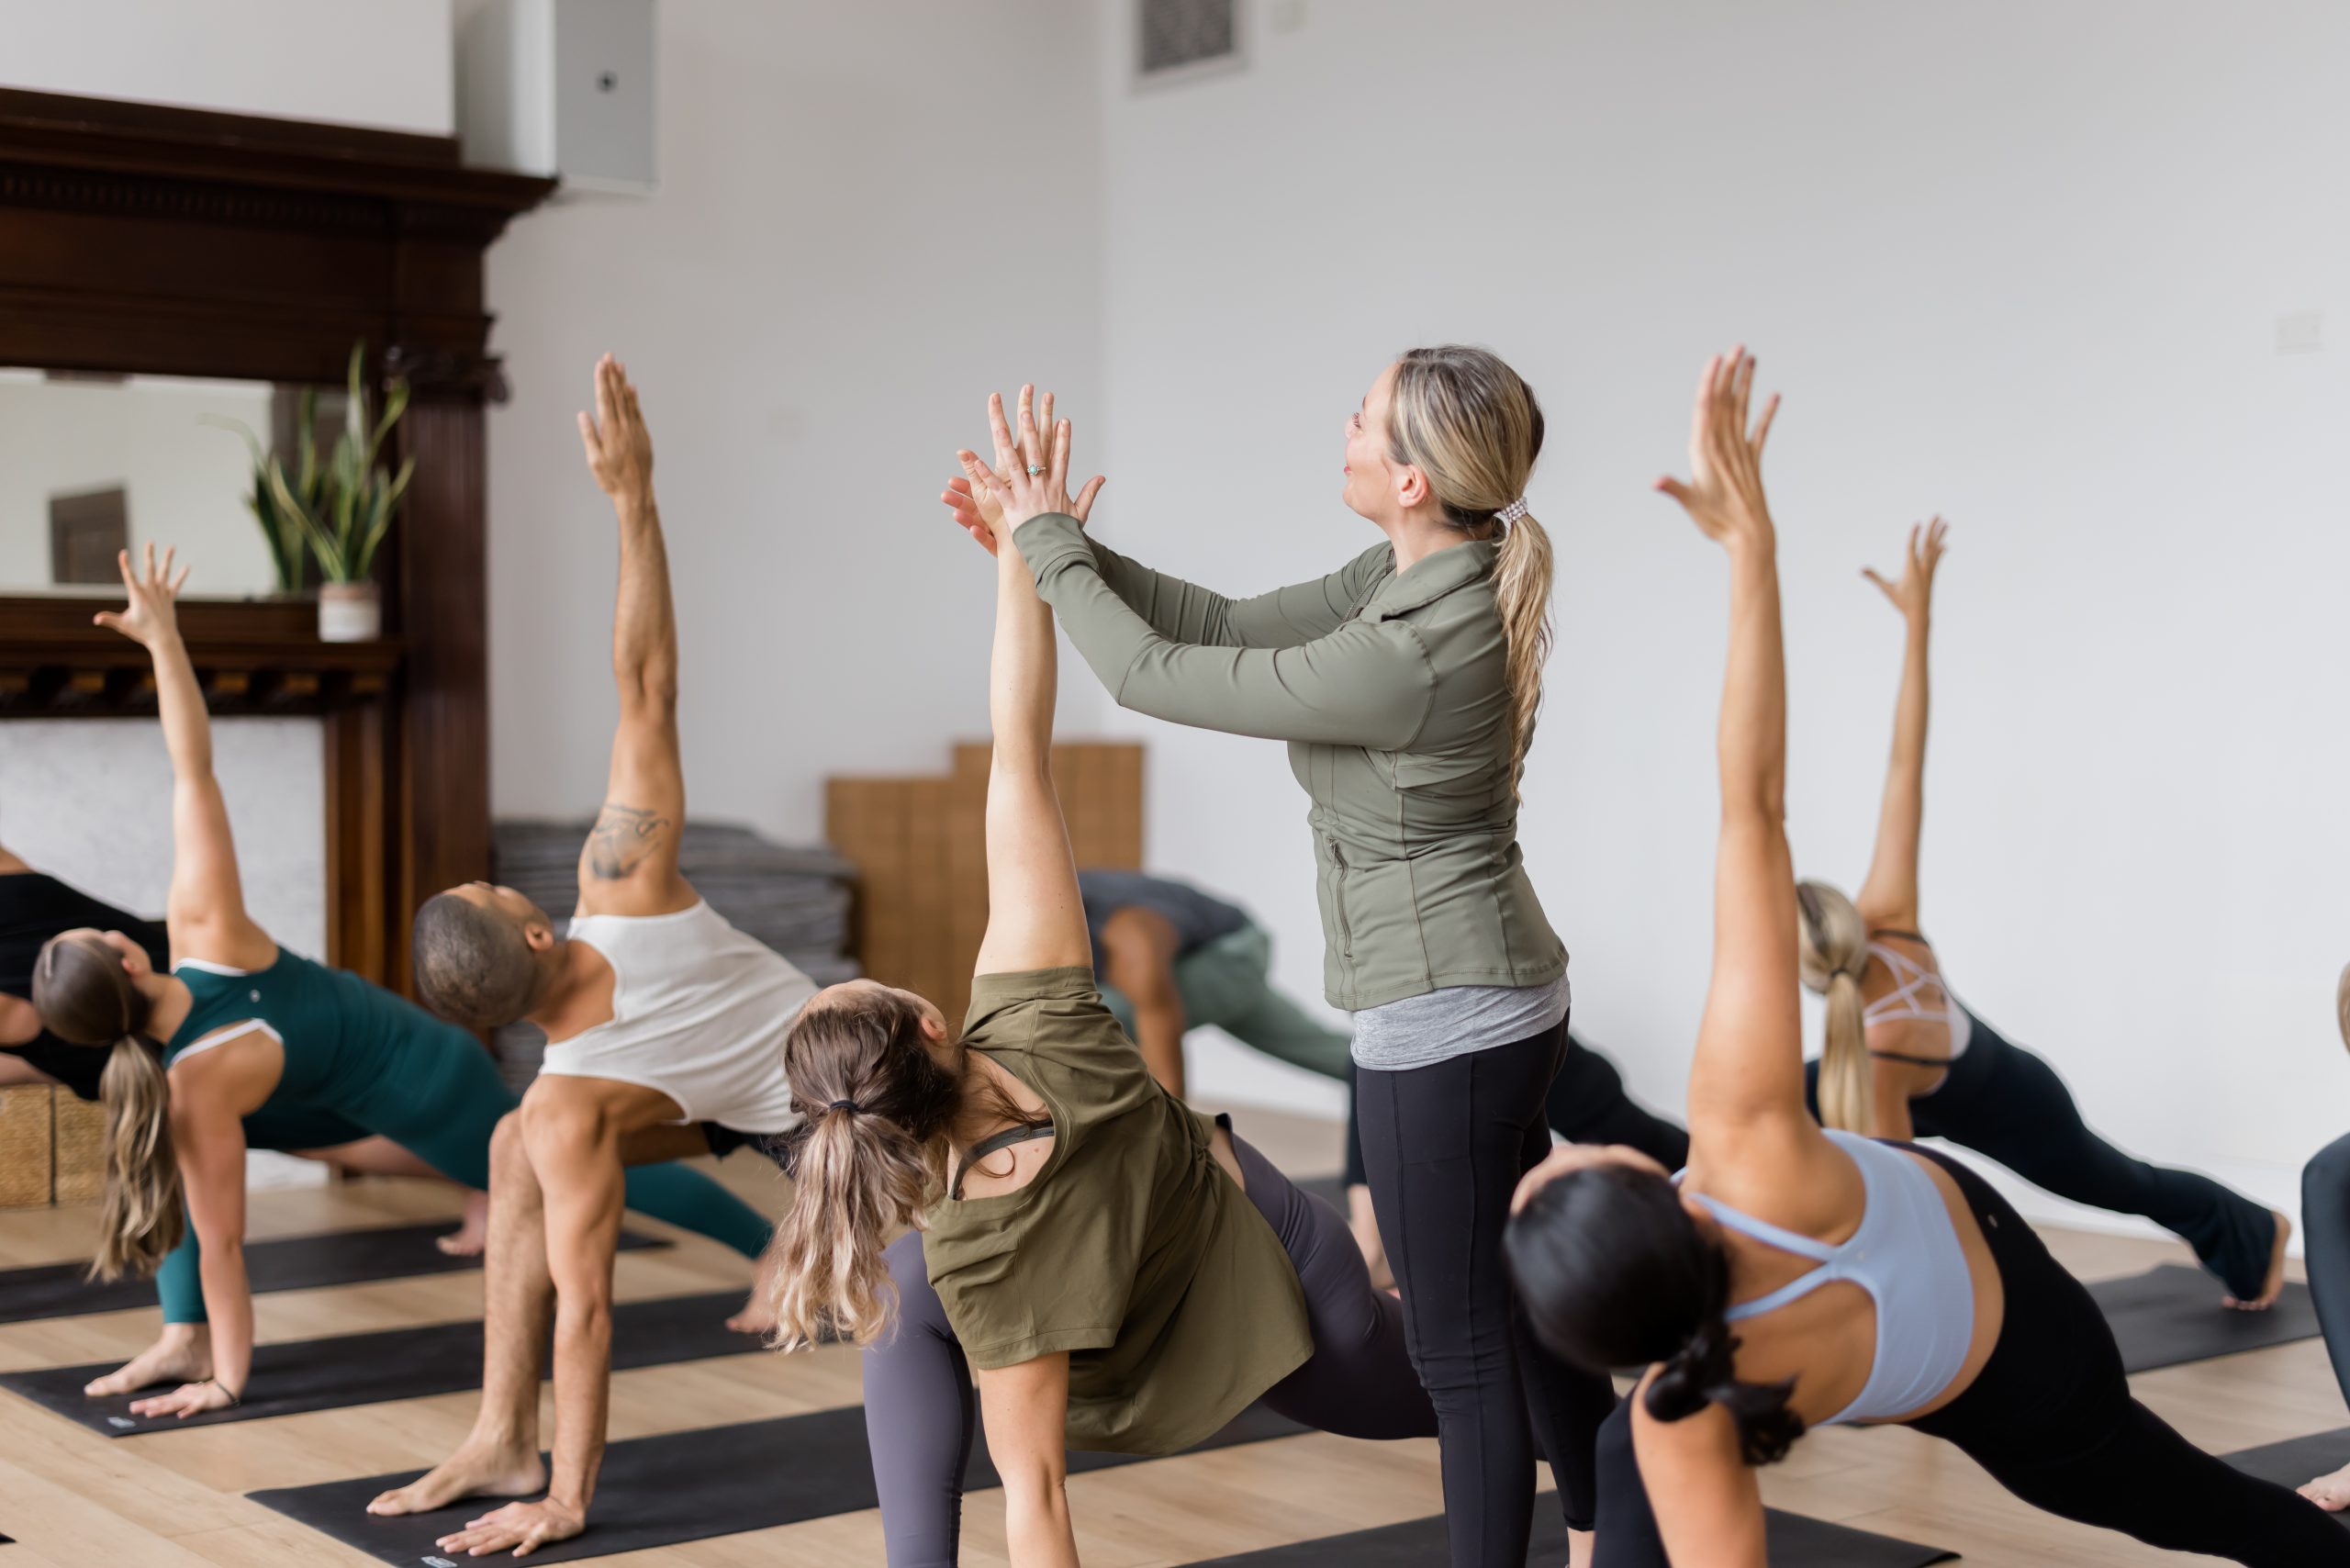
6. Guide the Class
Now you can enjoy the best part: it’s time to show where all your efforts went and be free in your own element. But hosting a class is not just about following your routine, it’s also about guiding with clarity and compassion means finding a balance between structure and sensitivity, between direction and intuition.Start by introducing yourself and share a few words on the class theme or level.Afterwards, during the session, keep in mind to:
- Offer variations and modifications: encourage students to listen to their own bodies and adapt in a way that fits their capabilities.
- Stay connected to your students: observe their alignment, gently adjust if needed, and offer verbal cues that enhance their understanding.
- Emphasize breath awareness and mindful movement encouraging them to stay present, move with intention and breath as an anchor
- Respect your students’ limits and space: Your language, tone, and presence should feel safe and empowering so adapt it to your class preferences.
As the practice finish, move towards a savasana or short meditation, letting student release their bodies and minds fully.

After the Class: Close with Care
7. Connect and Reflect
After the class, is time to thank your community and connect with them. Thank your students personally, ask how they felt, and offer to answer any questions. Encourage them to stay updated on the next sessions and come back.Creating a consistent and friendly presence (both online and in person) builds trust and loyalty.
8. Follow Up
This step is especially useful for beginners teachers or if you just opened a studio: to improve your performance and learn from your students, a follow-up can have a big impact. Within 24–48 hours, send a quick thank-you message with Info about upcoming sessions and a feedback link or open invitation to share thoughts.
In this way you will show that you care about their wellbeing and will keep your community engaged.
Example: “Thank you for practicing with me yesterday! It was a joy to share space with you. I hope you're feeling balanced and recharged.Hope i will see you again for next week’s class, Tuesday at h19:00.”
”I would love to hear your opinion! If you feel like leaving a comment, please click here and let me know hoe you felt today”
Bonus tip: Going Virtual
Yoga opens the door to incredible opportunities, and it doesn't stop at the walls of your studio. Whether you're looking to reach a wider audience, expand your offerings for existing students, or simply begin your teaching journey without a huge time or financial investment, taking your classes online is a powerful and accessible option.
Today, virtual content is booming, and platforms like YouTube and Zoom are ideal for yoga instructors ready to step into the digital space.
The organizational process is quite similar to running an in-person class, but there are unique considerations when going virtual. For a more detailed guide, we recommend checking out our articles on digital fitness and how to start your own fitness YouTube channel, packed with tips to help you launch with confidence.
Ready to launch your first class!
From choosing the right space and preparing your tools to guiding with compassion and following up with care, every step you take as a teacher shapes your students' experience, both on the mat and beyond.
These tips are designed to help you feel more organized, confident, and centered in your role, while also ensuring your students feel supported and valued.
To lighten your load and free up more time to focus on your community, bsport is the ideal digital partner. With bsport, you can easily manage subscriptions, send personalised communications, and allow clients to purchase class packages (both in person or online), directly from your website or landing page.
To find out more on how we can help you, book a demo with one of your experts!